Procedure for Creating Plaster Masks and Plaster Molds for Clay Masks
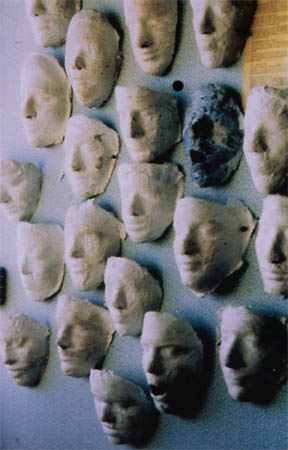
The primary reason for face casting is that the mask will LOOK like the artist.
- Cut plaster cloth strips to 3" and 1" (I have used a band saw for this task.).
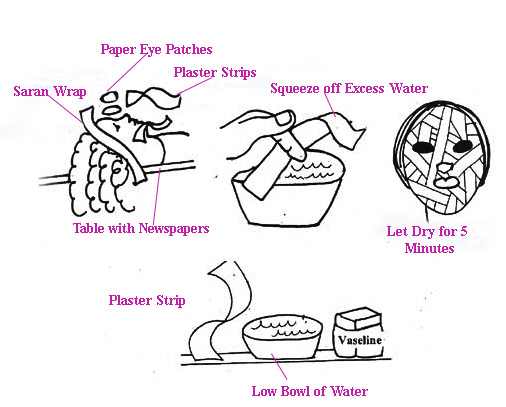
- Create a workstation on each table. Cover the table with newspapers. The students will lie down on the table.
- One low and wide bowl of water for each table.
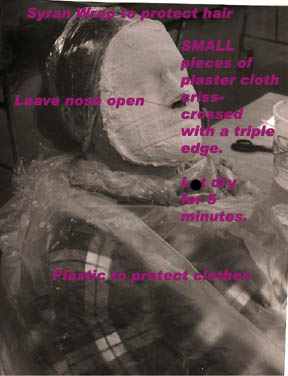
- When it is their turn have the child put on a garbage bag (cut out a hole for the head) and saran wrap hair cover. Tie a knot behind the head to keep saran wrap tight.
- Grease the student’s face and neck with Vaseline.
- Put paper eye patches over eyes.
- Dip the plaster strips in the water, squeezing off the excess water with your fingers. Students may do this.
- Build up at least three layers, avoiding the eyes and nose area. Use small strips around the nose and mouth so you can copy the individual details of the nose and mouth.
- Let dry for about 5 minutes
- VERY carefully start to release from the chin area up. Dry for at least 1/2 hour before touching.
If you will be completing
with plaster,
use the plaster
cloth to create extensions.
Let dry for
several days
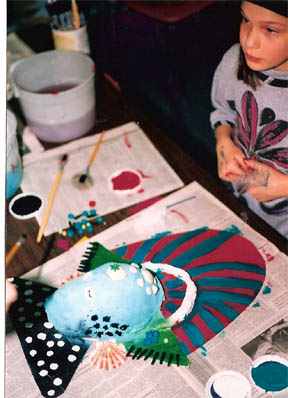
and then paint.
If you will be moving on to creating a clay mask, let dry for several days and then follow the clay procedures.
Back To Unit 4 Splash Page
|